Paranoid password printing with a Raspberry Pi
Motivation and method
My password manager runs on my macOS desktop computer. I wanted to print a plain text copy of my password list for storing in a safe deposit box.
I wanted to do this without having any files that could contain unencrypted sensitive information ever being written to disk by the password manager or the print spooler, or travelling over any network.
This is the method I used:
- Create a RAM disk on the macOS system.
- Apply a sandbox to the password manager to restrict file output to the RAM disk.
- Export a plain-text copy of the password list to the RAM disk.
- Use AESCrypt to encrypt the text file.
- Copy the encrypted text file to the Mac hard drive.
- Unmount the RAM disk.
- Modify a Raspberry Pi to allow booting from a flash drive.
- Prepare a "Live boot" version of Raspbian OS on a flash drive with a hardware write-lock switch.
- Boot the flash drive on a Raspberry Pi in writeable mode. (Do not use an SD card in the Raspberry Pi.)
- Copy the encrypted text file to the flash drive.
- Shut down and reboot the flash drive in write-locked mode.
- Create a RAM disk on the running Raspbian system.
- Decrypt the encrypted text file to the RAM disk.
- Connect a simple USB printer to Raspberry Pi.
- Print the unencrypted text.
RAM disk on macOS
Following Create APFS RAM disk on macOS High Sierra at stackoverflow, I created a RAM disk:
sizeInMB=100
diskutil partitionDisk $(hdiutil attach -nomount ram://$((2048*sizeInMB))) 1 GPTFormat APFS 'RAMdisk' '100%'
Sandbox app and export passwords
Use of this unofficial sandboxing technique is described in more detail in the previous post, Sandboxing a third-party macOS app to restrict writing to one folder.
In the following, MyPasswordProgram is a stand-in for the name of the
actual password manager in use.
- Make a copy of
MyPasswordProgramand put it in a work directory, e.g.,~/Documents/Projects/Sandbox. - Overwrite the entitlements.
cd ~/Documents/Projects/Sandbox codesign --force -s - MyPasswordProgram.app/Contents/MacOS/MyPasswordProgram - At this point, when I double-clicked the modified program it thought I was a new user with no data. I had to restore my data from
a backup. (
MyPasswordProgramhas a feature allowing backing up data to a separate file.) - Create a sandbox profile,
mypasswordprogram.sbto restrict file output:(version 1) (allow default) (deny network*) (deny file-write*) (allow file-write* (subpath "/Volumes/RAMdisk/") ) - Launch
MyPasswordProgramwith sandboxing:sandbox-exec -f mypasswordprogram.sb MyPasswordProgram.app/Contents/MacOS/MyPasswordProgram - Export the plain-text password file to
/Volumes/RAMdisk/clear.txt
My password manager offered a few options for the format of the exported file. Experimentation revealed that some options used the technique of writing a temporary file (on the hard drive!) first. Fortunately, the plain-text option wrote directly (and only) to the selected output location.
Get AESCrypt command-line tool for macOS
Although the aescrypt.org website has macOS binaries available for download here, I opted to get the source and build it myself.
(I used aescrypt_mac_v314_1_source.tgz, although there might be a newer version by the time you read this.)
tar zxvf aescrypt_mac_v314_1_source.tgz
cd aescrypt_mac_v314_1_source
cd src
make
Using sudo make install after this did not work for me (on macOS High Sierra 10.13), so I
installed it by hand.
sudo cp aescrypt /usr/local/bin
sudo cp aescrypt_keygen /usr/local/bin
sudo cp ../man/aescrypt.1 /usr/local/share/man/man1/
Since the theme is paranoia and because the AESCrypt folks make hash values available, I did verify the source code package before I built it.
$ shasum -a 256 aescrypt_mac_v314_1_source.tgz
736cc8247dde220e553af35a0afd5708d20de4a7c40127b0d1069e5473e3a0df  aescrypt_mac_v314_1_source.tgz
One of the authors says, however, in response to a request for a way to verify the files:
I confess I did not go so far as to verify the GnuGP signature of the file of hashes itself. I didn't read the source code, either.
Encrypt with AESCrypt
This asks for a password, encrypts the clear-text file from the RAM disk, and writes the encrypted result to a work directory (on the hard drive).
cd ~/Documents/Projects/Sandbox
aescrypt -e -o encrypted.dat /Volumes/RAMdisk/clear.txt
Unmount the RAM disk after this is done. (In a Finder window that lists all your devices in the sidebar, this can be accomplished by clicking the Eject ⏏ icon to the right of the RAM disk's name.)
Raspberry Pi booting from flash drive
Flash drive
The Raspberry Pi 3 needs an operation to allow for booting from a USB flash drive, in addition to usual ability to boot from an SD card. That operation is documented in a previous post, Solution for a Broken Raspberry Pi SD Card Reader.
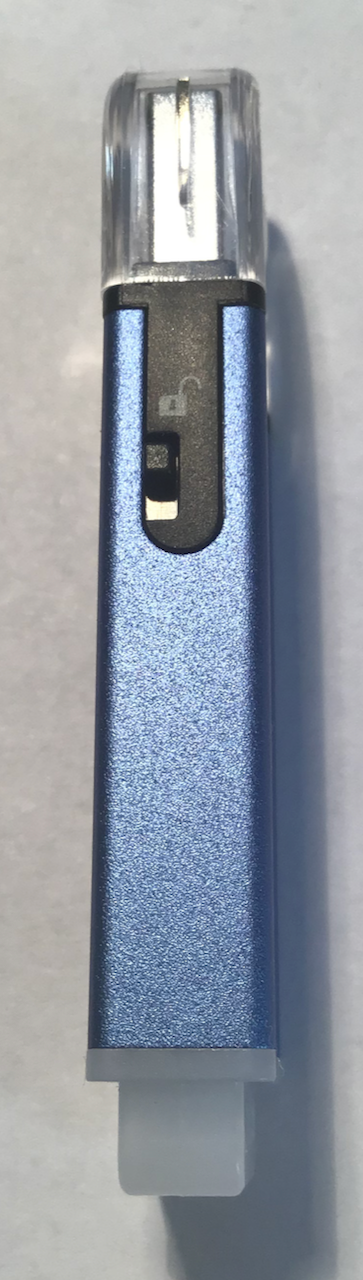
The next step calls for a flash drive with a physical write-lock switch. I got this 8GB one from Kanguru:
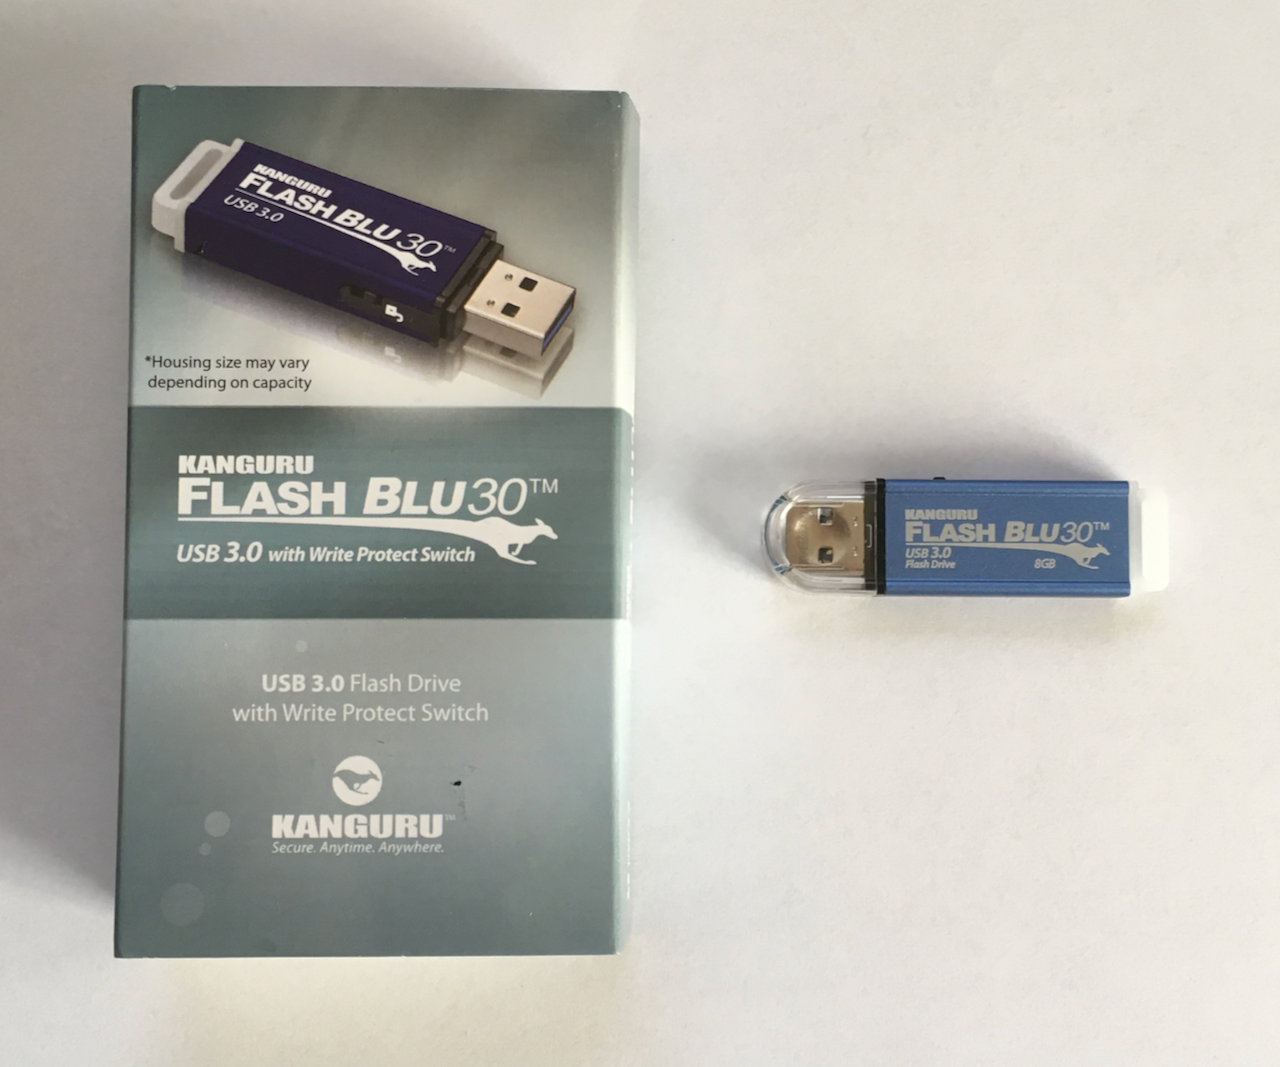
This brings up the question, "[StackExchange] How reliable is a write protection switch on a USB flash drive?"
The consensus is that it's pretty good.
Note, however, the following gotcha from Kanguru's support site regarding another one of their flash drives with a write-protect switch:
The above is consistent with comments on the StackExchange link.
Install system
Install Raspberry Pi OS (formerly known as Raspbian) on the flash drive, and prepare it for headless operation from first boot:
- Download Raspberry Pi OS Lite.
As of date current version was
2020-12-02-raspios-buster-armhf-lite.zip. - Using Balena Etcher, write image to flash drive drive.
- If Etcher has unmounted the flash drive, unplug and replug it.
- The flash drive appears as a volume named "boot". Create an empty file named "ssh" on it.
touch /Volumes/boot/ssh - Create a file on the volume named
wpa_supplicant.confwith contents similar to this, replacingvi /Volumes/boot/wpa_supplicant.confMyAccessPointNameandpassword1234:ctrl_interface=DIR=/var/run/wpa_supplicant GROUP=netdev update_config=1 country=US network={ ssid="MyAccessPointName" psk="password1234" } - To specify a static IP address, it is necessary to edit a file on the
rootfsvolume on the flash drive, which is not accessible from macOS. Either use a physical Linux machine, or install VirtualBox (along with the "VirtualBox Extension Pack" to get USB 3.0 access) and use a virtual Linux system. - Mount the flash drive on the Linux machine.
When using Debian GUI, just plugging it mounts everything automatically. From the command line,
I used commands similar to following to identify the device and mount it:
$ sudo blkid [...] /dev/sdc1: LABEL_FATBOOT="boot" LABEL="boot" UUID="EBBA-157F" TYPE="vfat" PARTUUID="067e19d7-01" /dev/sdc2: LABEL="rootfs" UUID="b3ce35cd-ade9-4755-a4bb-1571e37fc1b9" TYPE="ext4" PARTUUID="067e19d7-02" $ sudo mkdir /media/michael/boot $ sudo mkdir /media/michael/rootfs $ sudo mount /dev/sdc1 /media/michael/boot $ sudo mount /dev/sdc2 /media/michael/rootfs - Edit the file
/etc/dhcpcd.confusing the appropriate path, e.g.:and append the following (making the appropriate substitutions):sudo vi /media/michael/rootfs/etc/dhcpcd.confinterface eth0 static ip_address=172.16.1.21/24 static routers=172.16.1.10 static domain_name_servers=8.8.8.8 8.8.4.4 interface wlan0 SSID MyAccessPointName static ip_address=172.16.1.121/24 noipv6 static routers=172.16.1.10 static domain_name_servers=8.8.8.8 8.8.4.4 - Unmount the flash drive. If using the command line, use commands similar to
$ sudo umount /dev/sdc1 $ sudo umount /dev/sdc2 - Boot the Raspberry Pi with the flash drive. (There should be no SD card installed.) The first time it boots the flash drive, it may take a several minutes before it is accessible for remote login.
- Log in via ssh with the default user name
piand the default passwordraspberry, e.g.,ssh pi@172.16.1.21 - Change the password.
passwd
Live boot Raspbian OS
Configure the new system for read-only operation. This follows the method given in Make your Raspberry Pi file system read-only (Raspbian Buster), which explains the instructions which follow in summary only:
- Create a temp directory for user
pi.mkdir /home/pi/tmp - Replace packages.
sudo apt-get remove -y --purge triggerhappy logrotate dphys-swapfile sudo apt-get autoremove -y --purge sudo apt-get install -y busybox-syslogd sudo apt-get remove -y --purge rsyslog - Edit
/boot/cmdline.txtand append at the end of the linesudo vi /boot/cmdline.txtfastboot noswap ro - Edit
/etc/fstabadd thesudo vi /etc/fstab,roflag to all block devices, for example:and append the followingproc /proc proc defaults 0 0 PARTUUID=2b404624-01 /boot vfat defaults,ro 0 2 PARTUUID=2b404624-02 / ext4 defaults,noatime,ro 0 1tmpfs /tmp tmpfs nosuid,nodev 0 0 tmpfs /var/log tmpfs nosuid,nodev 0 0 tmpfs /var/tmp tmpfs nosuid,nodev 0 0 tmpfs /home/pi/tmp tmpfs nosuid,nodev,uid=pi,gid=pi 0 0 - Delete/create files and create symlinks.
sudo rm -rf /var/lib/dhcp /var/lib/dhcpcd5 /var/spool /etc/resolv.conf sudo ln -s /tmp /var/lib/dhcp sudo ln -s /tmp /var/lib/dhcpcd5 sudo ln -s /tmp /var/spool sudo touch /tmp/dhcpcd.resolv.conf sudo ln -s /tmp/dhcpcd.resolv.conf /etc/resolv.conf sudo rm /var/lib/systemd/random-seed sudo ln -s /tmp/random-seed /var/lib/systemd/random-seed - Edit
/lib/systemd/system/systemd-random-seed.serviceso thesudo vi /lib/systemd/system/systemd-random-seed.service[Service]section looks like[Service] Type=oneshot RemainAfterExit=yes ExecStartPre=/bin/echo "" >/tmp/random-seed ExecStart=/lib/systemd/systemd-random-seed load ExecStop=/lib/systemd/systemd-random-seed save TimeoutSec=30s - Edit
/etc/bash.bashrcand appendsudo vi /etc/bash.bashrcset_bash_prompt() { fs_mode=$(mount | sed -n -e "s/^\/dev\/.* on \/ .*(\(r[w|o]\).*/\1/p") PS1='\[\033[01;32m\]\u@\h${fs_mode:+($fs_mode)}\[\033[00m\]:\[\033[01;34m\]\w\[\033[00m\]\$ ' } alias ro='sudo mount -o remount,ro / ; sudo mount -o remount,ro /boot' alias rw='sudo mount -o remount,rw / ; sudo mount -o remount,rw /boot' PROMPT_COMMAND=set_bash_prompt - Edit
/etc/bash.bash_logoutand insert or appendsudo vi /etc/bash.bash_logoutmount -o remount,ro / mount -o remount,ro /boot - Reboot
sudo reboot
After rebooting, type
rw
ro
To switch the hardware-controlled read-only mode, power off the Raspberry Pi, unplug the flash drive, toggle the write-protect switch, then replug the flash drive and power on the Raspberry Pi.
Encrypted file to the flash drive
In one macOS Terminal window, ssh to the Raspberry Pi and set it to read-write mode.
ssh pi@172.16.1.21
rw
In another macOS Terminal window, use sftp to transfer the encrypted text file.
sftp pi@172.16.1.21
lcd ~/Documents/Projects/Sandbox
put encrypted.dat
exit
Install software on Raspberry Pi
Make sure clock is up-to-date
rw
sudo apt-get install ntpdate
sudo ntpdate pool.ntp.org
Install printing software
sudo apt-get update
sudo apt-get install cups
sudo usermod -a -G lpadmin pi
Edit cupsd.conf
sudo vi /etc/cups/cupsd.conf
Search for the line Listen localhost:631 and change nearby lines to look like this:
# Only listen for connections from the local machine
# Listen localhost:631
Port 631
Search for the lines beginning with Restrict access to the server...
and change to look like this:
# Restrict access to the server...
Order allow,deny
Allow @local
# Restrict access to configuration files...
AuthType Default
Require user @SYSTEM
Order allow,deny
Allow @local
Restart cups:
sudo /etc/init.d/cups restart
Plug a simple USB printer (i.e., not multi-function, and having no non-volatile memory) into the Raspberry Pi, and turn on the printer.
From another computer on the local network, log in to the print web server by visiting port 631 on the Raspberry Pi, e.g., https://172.16.1.21:631. (Ignore complaints about an invalid https certificate.) Go to the Printers tab.
The details of the next step, setting up the printer, depend on the printer in use. Mine is an elderly Samsung Xpress SL-M2625D Laser Printer. The model was not listed among the options for Samsung printers.
The driver I downloaded from Samsung didn't work. In the end, I had best luck with the
Samsung ML-2550 - CUPS+Gutenprint v5.3.1 (grayscale, 2-sided printing) driver.
Make a plain text file, e.g., foo.txt, to test printing.
lp foo.txt
My printer can print double-sided pages this way:
lp -o sides=two-sided-long-edge foo.txt
or a range this way:
lp -o page-ranges=1-2 foo.txt
Install AESCrypt
rw
curl -OL https://www.aescrypt.com/download/v3/linux/aescrypt-3.14.tgz
tar zxvf aescrypt-3.14.tgz
cd aescrypt-3.14/src
make

install -o root -g root -m 755 aescrypt /usr/bin
install -o root -g root -m 755 aescrypt_keygen /usr/bin
sudo cp ../man/aescrypt.1 /usr/share/man/man1/
Custom formatting tool
The basic lp command prints a plain-text file in a monospaced font. For my
printer, this comes out in a size that yields 80 characters per line and 64 lines per page.
I would have liked to be able to use command-line tools such as groff to format the output, but that would have required the ability to send a postscript file to the printer. With the driver difficulties I encountered, I was unable to accomplish that without spending more debugging time.
The plain text password list is a single column of information that looks somewhat like this:
Title : Acme Store
Username : Moe
Password : 12345678


Title : Example.com
Username : Larry
Email : larry@example.com
Password : password1


Title : Bank
Account Number : 1234 567890
PIN : 1234


Title : Foo.com
Username : Curley
Email : curley@foo.com
Password : password1
In order to have a more compact and elegant printout, I wanted to have two columns per page, and to avoid having a column or page break in the middle of an item group.
I wrote a quick program for this (https://github.com/7402/columnizer). This is rough, uncommented code - just as an example of what can be done, rather than something to copied and reused. If anyone in the universe wants it polished, send email.
To build on the Raspberry Pi, just transfer the file columnizer.cpp and then do:
g++ -std=c++0x -o columnizer columnizer.cpp
Decrypt file with AESCrypt
- Reboot write-locked!
- Decrypt to temp file (on RAM disk).
aescrypt -d -o tmp/clear.txt encrypted.dat - Don't view the decrypted file over the network or WiFi!
Format text and print
Format.
ro
./columnizer -i tmp/clear.txt -o tmp/formatted.txt
Plug in printer to USB port on Raspberry Pi and power on. Verify printer name. (Make sure printing does not get sent to a networked printer!)
lpstat -d -p
And print (double-sided, if available):
lp -d Samsung_M262x_282x_Series -o sides=two-sided-long-edge formatted.txt
Or single-sided:
lp -d Samsung_M262x_282x_Series formatted.txt
Then shut down the Raspberry Pi.
sudo poweroff
Other references
- Apple: What is secure virtual memory?
- Macworld: How to dispose of a printer securely
To contact the author, send email.