Personal Linux R Server in a Mini-ITX Gaming Case
(Part I)
It's been two years since I last used my mid-2010 Mac Pro as the workhorse for my entries in the data-mining/statistics competitions sponsored by Kaggle. The contests can involve crunching through tens or hundreds of gigabytes of data multiple times, with the goal of tuning a predictive model that works better than everyone else's. Victory in these contests is supposed to lead to fame, fortune, lucrative consulting contracts and massive geek-credibility among one's data scientist peers.
An interest in participating again led me to think about upgrading my computing resources. A five-year-old Mac is absolutely fine for everyday use, but it would be nice to work with something with more power when doing analysis. I put a small SSD into the old machine, but like it felt like feeding a few carrots to a retired racehorse: it made me feel good, briefly, but it didn't miraculously create a winner again. A new "Darth Vader" Mac Pro was not in my budget.
But I didn't need a new Macintosh just to get a better platform for running R, my current language of choice for data analysis. At a recent gig at a "big data" company in San Francisco, everyone was issued laptops, and the quantitative analysts and software engineers who needed to run R code did so on a few big in-house systems running RStudio Server. That seeemed to work well. I thought I might try for a setup like that at home.
I've always used fairly stock computers and I'm not a big computer gamer. Maybe every few years I'll give some simple game a try; I'll get absorbed for a few hours, and then set it aside. So I was only peripherally aware of the subculture of building high-end gaming systems and overclocking. I consulted the internet. The good news is that this subculture is big enough to drive the availability of lots of fast and inexpensive components for assembling a high-perfoming system. It's also fun to look at the boxes the parts come in; they seem to be aimed at a demographic that loves science fiction and would like to have the ability to be transformed into a superhero through the use of brain-power rather that doing lots of pushups. Which (ahem) could be me, at least a few decades ago.
So I decided to try it. I describe below my experiences a first-time "builder" (assembler, really) of a computer system.
- This part describes the selection of components and assembly of the first trial version with an inexpensive Celeron G1840 processor.
- Part II covers the initial software setup of the Linux system, including drivers and benchmarks.
- Part III describes the upgrade to the higher performance i7-4790K processor and improved cooling system.
- Part IV discusses the selection and installation of the graphics processor, an AMD Radeon R9 280.
The Goodies Arrive
I ordered parts in batches, figuring I would get my feet wet before going all in. Here's the first batch, which was about $700:
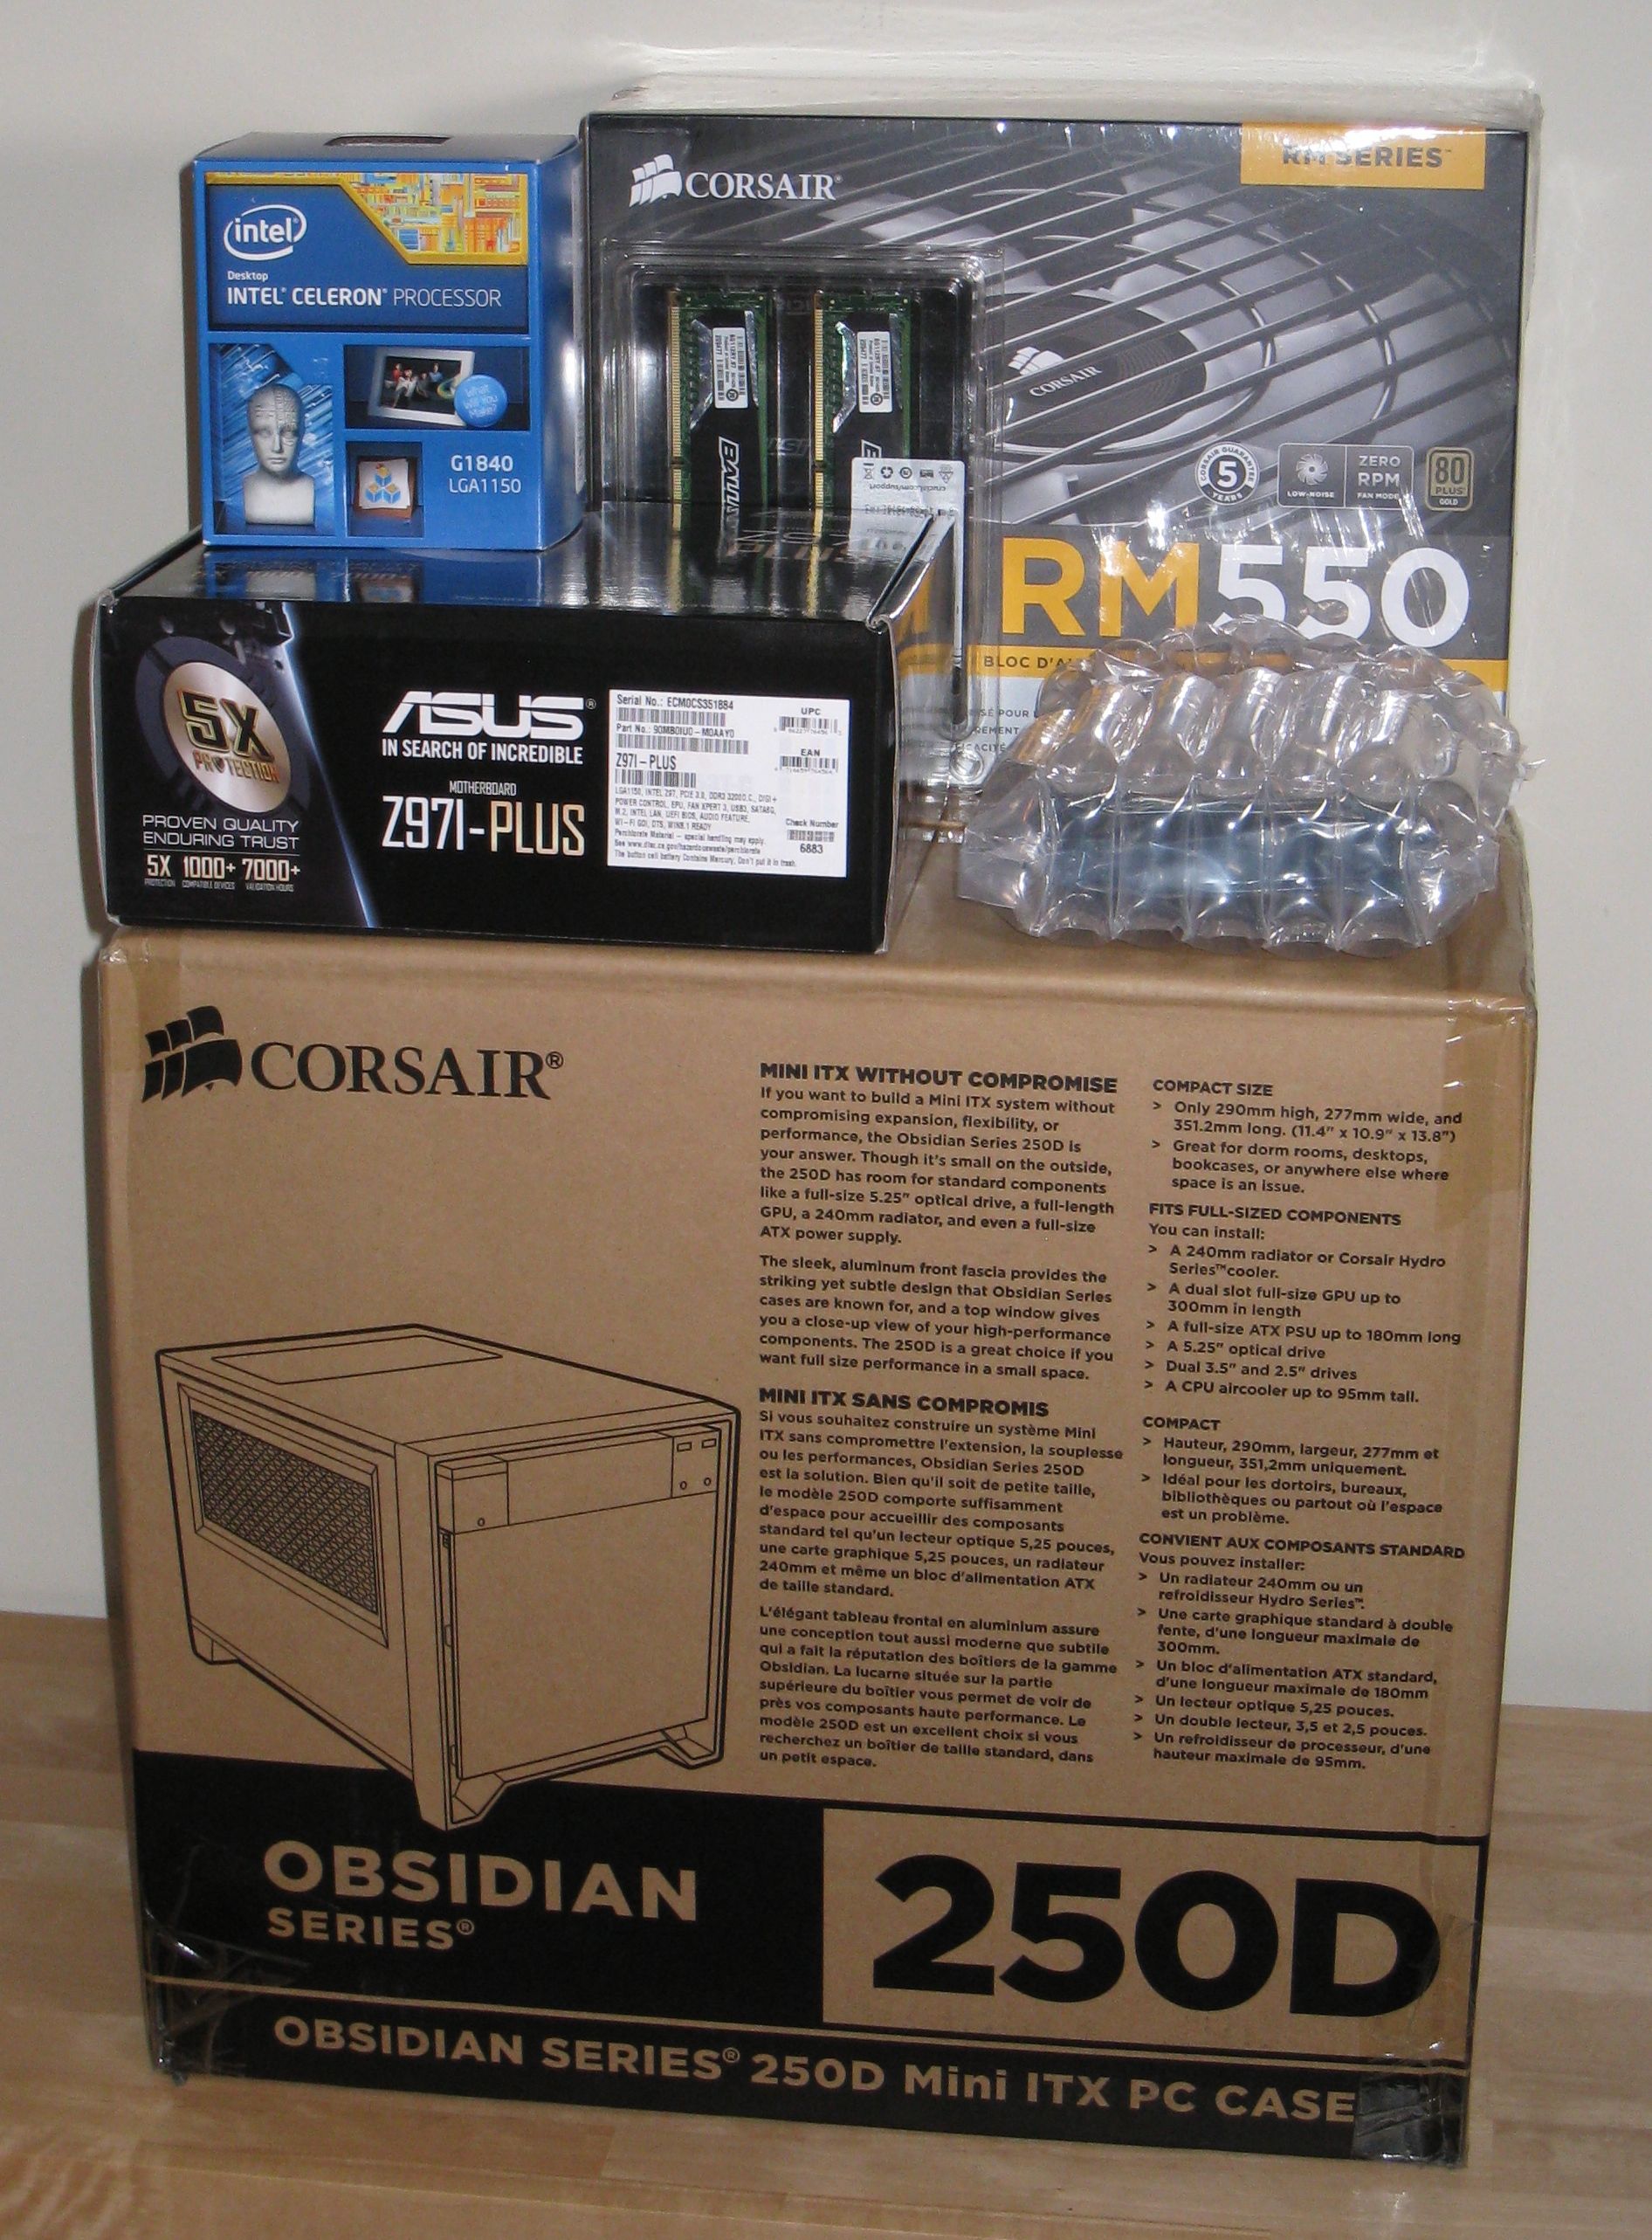
Corsair RM550 power supply
Asus Z97i-Plus motherboard
Celeron G1840 Intel processor
Crucial Ballistix Sport 16GB memory kit
WD Black 2TB hard drive
I should have included this in the first batch, too:

How did I choose these components?
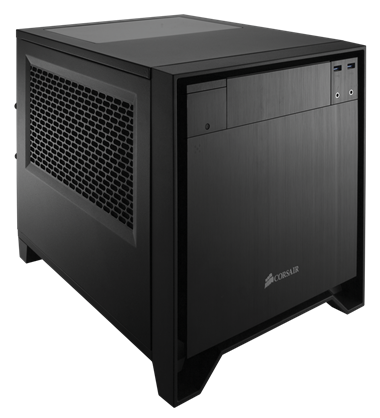
True to my Apple-fan heritage, I began with esthetics. I didn't want some big computer tower taking up yet more of my limited workspace. I decided to look for the smallest form factor that could still take a big graphics card. The Mini-ITX standard seemed appropriate, and this video review, among others, led me to the good-looking Corsair 250D case. (A "Corsair" is a pirate or pirate ship, so we're getting into the hacker gestalt as well.)
High-end gamers apparently care a lot about the power of their graphics cards, so as to be able to run the newest games with fancy animations at full frame rate; this is another instance where consumer-demand drives the availability of inexpensive GFLOPS. I didn't care much about animations; I planned on running my server "headless" in normal use (without keyboard, monitor, mouse), and when I did need to hook up an old monitor for setup or debugging, the motherboard I picked had an entirely serviceable VGA port. I was, however, interested in playing with a fast graphics card for general-purpose parallel-processing (GPGPU), so I wanted room for one in the case.
I concluded early on that I would not go for 100% server-quality parts such as ECC memory. ECC is generally required for mission-critical systems but it would limit my choices for other components. I also didn't plan to endulge in enthusiast-level overclocking that would require heftier power supplies and fancy cooling systems and pose a threat to system stability. The sweet spot in terms of price, performance, stability, and wide availabilty of component choices seemed to be at the level of high-end gaming components run at stock specifications.
Not using ECC memory bothered me, though. The Mac Pro has it, and some of my data runs might go for a few days. In the end I rationalized that the vast majority of my memory use will be for data, not program instructions, so the result of an occasional bit flip would at worst lead to a few more outliers in what is already noisy/dirty data. My work pattern is to use long data runs for exploratory data analysis and hypothesis-testing with lots of different sets of parameters. I'd generally re-confirm any particular result that looked good, though; I could check it on my Mac, or repeat the run on the server.
The PCPartPicker site is great for playing around with different build options. You can save links to different configurations, get price estimates from different vendors, and keep track of the estimated power consumption of your components to help you pick the right power supply unit.
After picking the form factor, the next decision was which processor family to use: Intel or AMD. There are lots of opinions The general impression I got was that the budget choice was AMD and the quality choice was Intel, so I went with Intel. If it's good enough for Apple, it's good enough for me. As a check, I found that searching for "AMD is way better than Intel" had about 2500 hits, while "Intel is way better than AMD" yielded almost 8000 hits, so if you're a Bayesian maybe that helps too.
Every review I read had nice things to say about the Asus Z97i-Plus motherboard. It includes wifi and bluetooth, multiple connectors for on-board graphics (including VGA, which some boards skip), lots of USB connectivity, 3 fan connectors (some Mini-ITX boards only have 2), and even a connector for the relatively new M.2 format for SSD drives.
I may want to put an SSD in the box eventually (maybe I'll pull the one out of my Mac Pro - sigh) but to get started I just needed a regular 3.5 inch hard drive. Western Digital's WD Black series is the more reliable of their desktop line, with a 5-year warranty.
The choice of power supply unit (PSU) seemed to be the least difficult step. PSUs can be modular, semi-modular, or non-modular. Modular means every power cable can be individually connected to the PSU or not. Non-modular means all the power cables are permanently connected to the PSU at one end, and dangle out unpleasantly like some kind of squid-like object. Modular is neater, somewhat more expensive, and more convenient in a compact case where there's less room for unused cables. I opted for fully modular.
PSUs have various efficiency ratings like "gold," and "bronze," and "platinum." I decided I liked gold, since "bronze" would mean I was a cheapskate practicing false economy, and Platinum would mean I was status-seeking hipster with no sense of the proper value of money. I have a Ph.D. in Physics, but you wouldn't know it from the way I buy electronics.
As for PSU brand, I picked Corsair again, since they made the case, so why not, even though PSUs come in standard sizes and I didn't actually have to worry about another brand not fitting. I did use a little bit of math in picking the power rating. My method was to put the most-desired list of components I could think of into a PCPartPicker list, then add 100 watts and round up.
I was surprised to find out how much some people care about buying RAM that looks good. It's a style choice! There's RAM with LEDs that light up in awesome blinking patterns when the computer is thinking hard!
There's RAM with terrific goth-looking heatsinks!
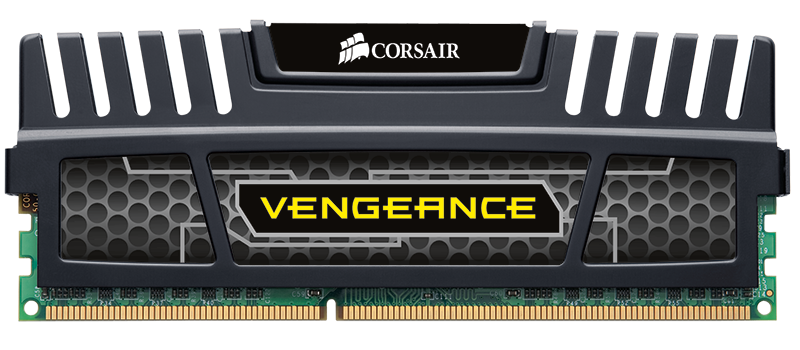
I wasn't ready for such a radical makeover, however, so I just picked something plain from PCPartPicker. The motherboard has a 16GB limit (2 slots with 8GB in each) so that's what I got.
The one item I missed in my initial order was that little beep speaker ($5) that plugs into the motherboard. At first, I figured an internal speaker was an extravagance, but it's actually useful during initial testing to have one that can make a beep when the BIOS starts. The board also produces beep codes for various error conditions. The sound quality is quite awful for anything musical, but for sine waves it's just fine.
By the way, the startup screen from the Asus motherboard says "UEFI BIOS Utility." It looks they're hedging their bets.
Finally, the CPU I used in my initial build was a low-end 2.8 GHz Celeron processor. Intel Celeron processors are often referred to disrespectfully as "Celery" processors, which I think is funny but also mean. My wish list did start off with the top-of-the-line Intel Quad Core 4.0 GHz i7-4790K CPU, which, however, costs over $300 and also is thought to require something better than the stock cooling fan that is included in the box. That was too much going in for a project that could end up failing due to Linux compatibility issues or my fumbling fingers when handling electrostatic sensitive devices. I figured that with a $47 processor, I could try everything out, and then if all went well I could upgrade to the 4790K later; I'd also have a spare CPU in case I fried the 4790K in ill-conceived overclocking experiments.
Fear, Uncertainty, and Doubt
What could go wrong? Concept, components, compatibility, and construction.
My concept was that I could put together a system that would provide a nice performance boost over what I already had with my desktop machine, with enough stability to get work done. This was a hypothesis that required experimental verification, however. (If it proved false, I could always use the fallback of buying a copy of Tomb Raider and claiming I intended to build a gaming system from the start.)
One or more components might be defective on arrival. Although the Z97i-Plus, RM550, i7-4790K, WD hard drive, and RAM all had average user ratings of 4-5 stars, every one of them had at least one DOA complaint on amazon.com or newegg.com. (Even the computer case had one report of arrival with broken pieces.)
Everything I received worked fine, but it was something I worried about. I felt that the tricky part when starting with an all-new build is that if it doesn't work, which of the parts is at fault? This was my motivation for starting with a minimal build before putting in any extras or using the high-end CPU.
The internet is home to wrong-thing-sayers when it comes to Linux compatibility. I learned to be suspicious of people who said things like "this will fix your problem," or "that won't work." I rejoiced when I found people who actually said things like, "This is what I personally did, and these are the results I found, on this date, with this hardware, and this distro."
The BIOS, the motherboard, and the availability of working Linux drivers appeared to be the key compatibility issues. The motherboard manufacturer was no help; their website bluntly states, "Asus recommend Windows," and that's it. I couldn't find specific reports of success with my particular motherboard, but enough people have had success with other Asus boards that I was willing to perform the experiment. My fallback here would have been to slink back to amazon.com and buy a copy of Windows 7.
The actual construction turned out to be the least of my worries; there are some great videos to help. Not everything on YouTube is reliable, however, so I was especially pleased to find the ones at NewEgg TV. As a reseller, newegg.com obviously has a strong incentive to help customers do things the right way rather than letting them screw up and then argue about getting an RMA for the parts they broke. The two videos I found most helpful were:
I was perhaps a little more paranoid than necessary about the dangers of damage to components via electrostatic discharge, maybe due to memories from the bad old days. Even the NewEgg guy didn't absolutely insist on using a grounding strap. Nevertheless, I rummaged in my attic and came up with this one, which I wore faithfully while handling the components. (The only other tools I used in the process are shown in the photo, too.)

The last potential danger I found was a new one for me: the possibility of software-caused hardware damage. I wasn't surprised that the BIOS settings could be changed in a way that would promptly overheat and destroy the CPU chip - that capability seemed inherent in a product aimed at overclocking enthusiasts. But I was surprised to find that running a very commonly-used diagnostic tool sensors-detect (that I fully intended to try myself) presented this warning:
we can probe the I2C/SMBus adapters for connected hardware
monitoring devices. This is the most risky part, and while it works
reasonably well on most systems, it has been reported to cause trouble
on some systems.
For example, there's "lm-sensors bricked my display?", less than 6 weeks ago. Then there's Prime95 a.k.a. the mprime stress-testing tool, which I planned on using but which can prompty take a CPU into overheating if you're not careful - even on a system that has been previously been just fine doing all sorts of other intensive work. That's not something I'm used to worrying about with my Mac Pro. Also, it's even worse if you use the latest version of mprime, which, ha ha, I thought was the right thing to do, but according to this post it's the wrong thing to do, I should have used 26.6. Also, mprime runs in user mode; you don't even need sudo, so think about that before giving your practical-joke-loving friends ssh access to your new box.
First Build with Celeron
The assembly was straightforward. I alternately played and paused the NewEgg videos while working.
Notes:
- The back panel (with cut-outs for the connectors) that fits into the case didn't seem very sturdy; it felt like it was made of heavy aluminum foil. I tried to be careful when pushing it into place.
- There are two tiny cables that snap onto the wifi card; the connectors are about 1/8" (3 mm) across. Some long-nose pliers were helpful for getting them into position. It took a few tries to get them attached.
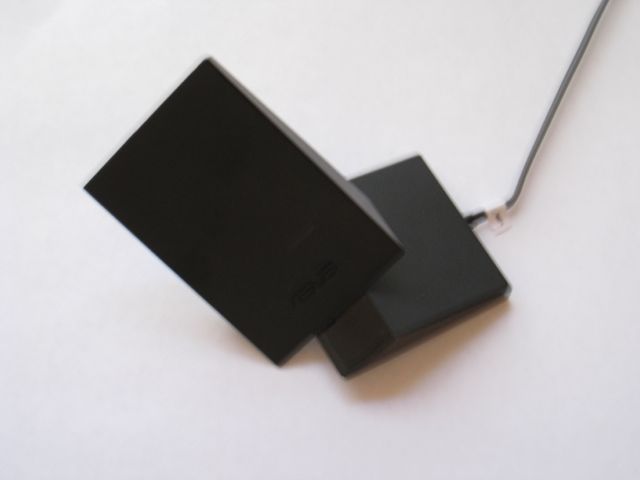
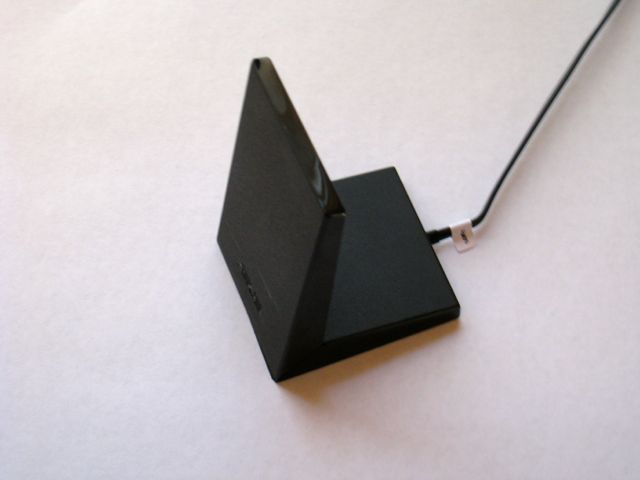
- There is an external wifi antenna that has a magnetic base for attaching it in a convenient location. It comes flat in a plastic bag, but is pictured as being L-shaped. At first I thought it folded open, and gingerly tried that. No go. I fiddled with it some more and found that the base rotated at at 45 degree angle with respect to the side. Good thing I didn't force it at first. It was only after opening it that I noticed there was a label on the bottom showing the correct technique. D'oh.
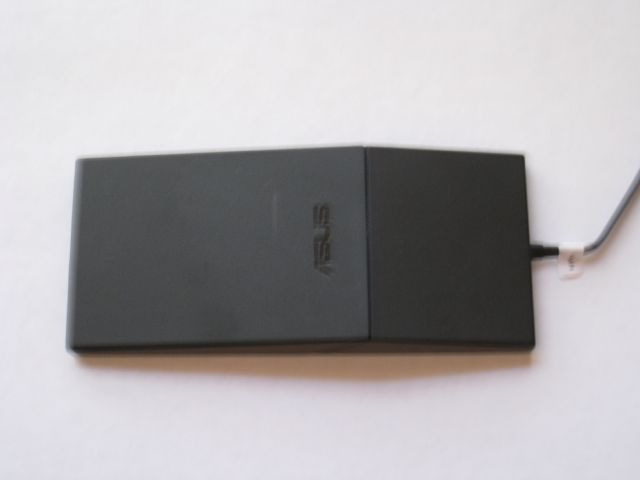
- The case and the board came with lots of cables, not all of which I would be using. So instead of unwrapping everything at the beginning, I just hunted around for each one as needed. That was OK, except that I missed out on this one (one of the few that came in an opaque bag), which could have saved me a little bit of effort:
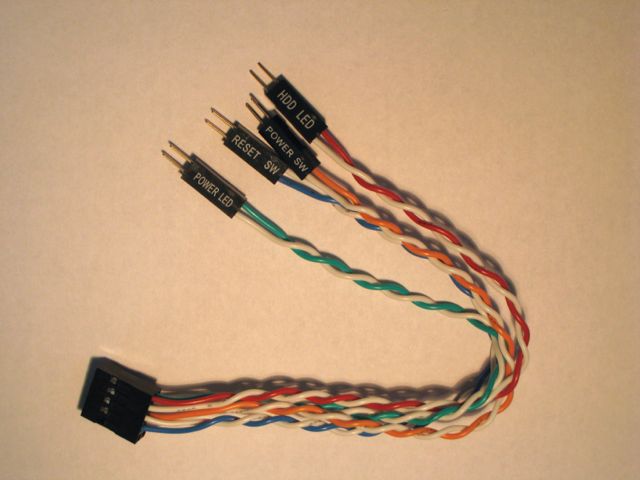
There is a set of six small cables (for front switches and LEDs) that go to a single header on the motherboard, and it was slightly fiddly to get them attached one by one. The above cable makes that much easier: the big connector attaches easily to the motherboard, then the six other cables attach at the other, more-accessible ends. With this extra cable it's also easy to trace the colored and white wires so as to get the positive and negative connections for each LED the right way. - I didn't think of it the first time around, but it's pretty trivial to unscrew the side fan to get better access to motherboard from that side of the case. I did that later on when I had to remove and reinstall the motherboard for an upgrade.
The NewEgg video suggested first doing an "Outside-the-box" build to test just the board, CPU, CPU fan and RAM, by setting the board on a box, hooking up the power supply, and using a metal tool to short the terminals that connect to the power-on switch. I decided my level of paranoia wasn't comfortable with that last bit because I pictured the discussion I would be having with customer support if the board proved to be defective.
Support: And how did you decide the board was at fault?
Me: Well, I hooked it up to the power supply and poked at the board with a screwdriver. Someone on the internet said to do that.
So I did install it securely in the case for the initial boot test, but without the hard drive or case fans attached. I hooked up the power-on connector to the front switch and used the switch to turn it on.
Smoke Test & Fan Issues
Ready for action. Power on!
No smoke! Passed the smoke test!
The stock Intel CPU fan gave one wiggle and then stopped.
Quick! Power off! I had read many scary stories about how a CPU could burn itself up in just a few seconds without sufficient cooling. Never run a CPU without a working CPU fan.
Recheck connections! Rotate fan blade! Move zig! For great justice!
Power on!
The CPU fan gave one wiggle and then stopped.
Start counting seconds. One. Two.
The CPU fan gave another wiggle and then stopped.
Start counting seconds again. One. Two.
CPU fan starts running at full speed! The BIOS screen shows up on the monitor! Success!
So this turned out to be the standard pattern with my stock fan: wiggle, stop, wiggle, stop, then start spinning normally. It bothered me for a day or two as I worked with the system. I consulted various sites and discussion boards. The immediate message I got from my researches was that no one with self-respect or good judgement would use be using stock CPU cooling fans, which were regarded as noisy, ineffective, and generally low-class. This didn't seem quite right to me; I thought the fan actually sounded fairly quiet, and why would Intel package an ineffective fan with the chips, when they wanted customers to be happy and not burn out CPUs and start nagging for refunds? Of course the people posting were probably hard-core overclockers who who wouldn't be using a Celeron chip in the first place. Finally, I found this, at the Intel site itself:
Is it Normal That Start and Stop Behavior is Seen at System Startup?
The start and stop behavior seen at system startup is normal. This is the result of using a new controller in the fan beginning 2012, which senses the fan rotor position at startup.
These fans are operating as expected, the fan starts and stops for three to five seconds at system startup. The controller pulses the rotor two times to establish the rotor position, verifies the rotation direction, and then starts. After starting, the fan quickly ramps to full speed and then assumes normal speed per the operating conditions.
This applies to:
Intel® Celeron® Desktop Processor
Intel® Core™ i3 Desktop Processor
Intel® Core™ i5 Desktop Processor
Intel® Core™ i7 Desktop Processor
Intel® Pentium® Processor for Desktop
Over the next couple of days, there were a few times when the boot failed, with a screen labelled "American Megatrends" appearing and a note at the bottom that said "CPU Fan Error. Press F1." Whenever this happened, I would look in the case window and see that CPU fan was spinning just fine. If I restarted, it would always then boot sucessfully the next time.
A common suggestion online was that if system seemed otherwise OK (fan spinning, CPU temperatures acceptable) then just lower the BIOS setting for minimum acceptable fan speed. In my Asus BIOS this was reached by going to Advanced Mode (F7), Monitor screen, CPU Fan Speed Lower Limit. One person recommended a value of 300 rpm. The setting was already at 200 rpm, however, which was lower than any fan speed I actually observed.
Poking around in the BIOS, I found the "Qfan Tuning" option on the Monitor screen. A review said, "The QFan Tuning option provides insight into the workings of each fan by detecting the low-end dead points." This sounded promising. It didn't seem like I had a real fan problem, it seemed like the CPU fan was maybe just a little slow at coming up to speed by the time the BIOS checked for proper fan operation. Perhaps this tuning could help it come up to speed faster. Running the the Qfan Tuning tool took a few minutes while it played with varying the fan speeds. Here are the results:
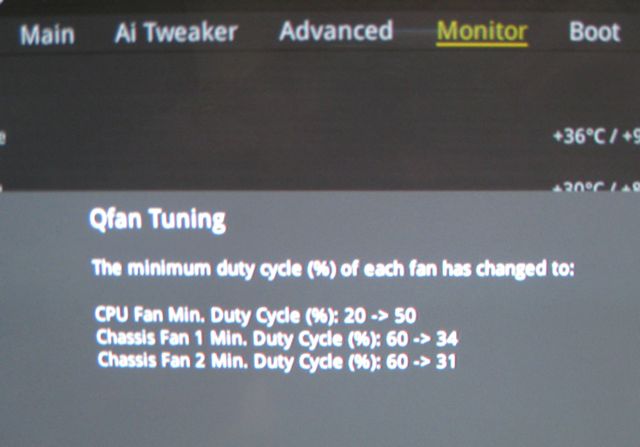
It appeared to have done something by boosting the minimum duty cycle for the CPU fan from 20% to 50%, but I did see a fan error one more time (over many startups) between the time I ran the tuning and the time I upgraded to a different cooler. When I later upgraded to new fan (to be discussed in a future post) all fan problems appeared to go away.
Linux Happiness
In preparation for the next steps, I hooked up everything else: case fans, hard drive, other case connections, keyboard, mouse. I located an external USB DVD drive, hooked it up, used my desktop machine to prepare a CD of the CentOS 6.6 Minimal Install ISO (CentOS-6.6-x86_64-minimal.iso), put the CD in the drive.
The latest version of CentOS 7.0 just came out, but I thought I might be better off using the latest release of the previous major version as far as availability of drivers and tested & compatible software was concerned. No deep thinking was involved in picking CentOS, by the way. I am sure there are good arguments for other distros. I just happened to have used CentOS a lot a few years ago when working at a company making data-intensive network-monitoring appliances running Linux and using a web interface, so I felt comfortable with it. The distro worked well enough for us in that situation, and a web-based R Server that crunched a lot of data seemed like a similar application.
The next big milestone was getting the Linux CD to boot. This is where there were rumblings on the internet about potential incompatibilty. There were also various hints on how to proceed, although none with my exact system. The following comment on slashdot gave reasonable hope:
by Anonymous Coward on Tuesday September 02, 2014 @12:45AM (#47804591)
Have been using ASUS boards for linux-only computers for years, without any compatibility problems. BIOS updates come as a ZIP file that extracts into a BIN file that you can install from the BIOS itself: just download and extract the file to a USB drive from your favorite OS, then boot into the BIOS and perform the update, rebooot and all done.
I can report that the default BIOS settings do not allow for booting the CentOS install CD, but the following changes allowed me to proceed and install CentOS. (Note that the BIOS version on my board was "2302 x64." It is possible that a later version will have a different screen layout.)
- If the screen is in "EZ Mode," switch it to "Advanced Mode" by hitting F7.
- Choose the Boot tab.
- Set "Fast Boot" to Disabled.
- Set the Secure Boot > OS Type to "Other OS."
- Set CSM (Compatibility Support Module) > "Boot from Storage Devices" to "Both, Legacy OPROM First."
- Go back to "EZ Mode," by hitting F7.
- The CD drive should be visible and at the top of the Boot priority list on the right. If necessary, drag it to the top. If not visible, make sure the CD is in the drive, reboot, and try again.
- Save and Exit by hitting F10.
Note: there is discussion out there regarding the disabling of secure boot. Remarks typically include one or more of the following:
- It makes your computer more secure.
- It might brick your computer if you try to use Linux.
- It's an improvement from Microsoft.
- It's an evil plot from Microsoft.
- You can't use it with Linux.
- You can use it with Linux if you have a magical signing thingie.
In any case, the above steps worked for me, and the CentOS website is pretty clear here:
The netinstall isos do not work with UEFI installs, but the minimal or DVD isos do work with UEFI. No versions of CentOS-6.6 will work with Secure Boot turned on. Secure Boot must be disabled to install CentOS-6.6.
After installing CentOS 6.6, I was pleased to find that the network connection via wired Ethernet worked immediately. This was not a foregone conclusion: others have had to compile and install the ethernet driver themselves when trying to use an unapproved motherboard for Linux. This level of compatibility meant that I could start working on software setup right away.
I tried various ways of getting software and other drivers working. I went down various twisty paths. I reinstalled CentOS 6.6 to clear out the junk I had experimentally installed. I installed CentOS 7.0 to try out something there. I reinstalled CentOS 6.6 again. I spent 5 minutes googling for the origin of the phrase, "When you are up to your neck in alligators, it is difficult to remember that the original goal was to drain the swamp." Origin of the saying is unknown.
By the end I had a condensed set of working instructions to get where I wanted. To be discussed in Part II: Software Setup.